
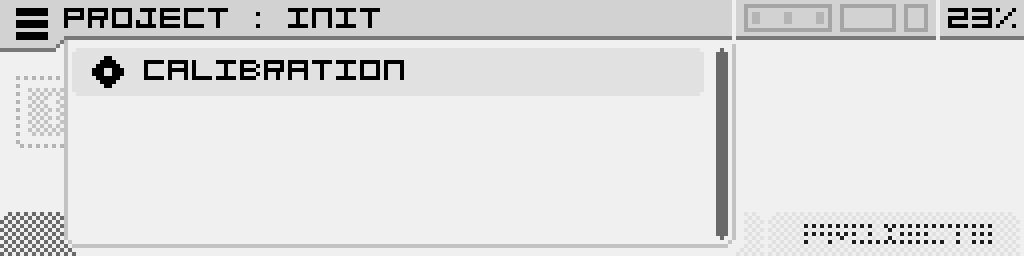
Calibration
Antigone’s calibration ensures accurate CV input response according to the 1V/oct standard.
If an expander is connected, it is recommended to restart the full calibration process to properly include and adjust the new CV inputs.
Calibration data is stored in Antigone’s Flash memory and remains intact after a firmware update. Therefore, recalibration is not required after updating the firmware.
How to start the calibration?
On Antigone’s main screen "PROJECT", click the burger menu using the encoder, then go to the "SETTINGS" menu and click again to enter.

Then select "CALIBRATION".
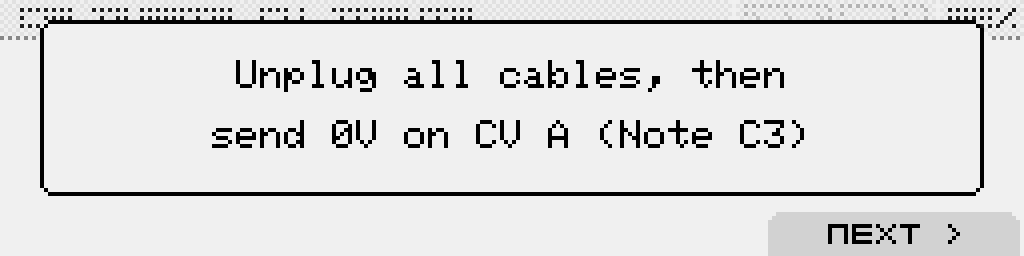
In the calibration screen, you will be asked to unplug all cables connected to the CV inputs (on both the module and the expander).
Next, connect a keyboard (or any voltage source) to the CV A input as shown, and press the C3 key on your keyboard, which usually outputs 0 Volts (depending on your master keyboard’s settings).
Then click the "NEXT" button (button 4) to begin calibration of CV input A. Wait until the progress bar completes.
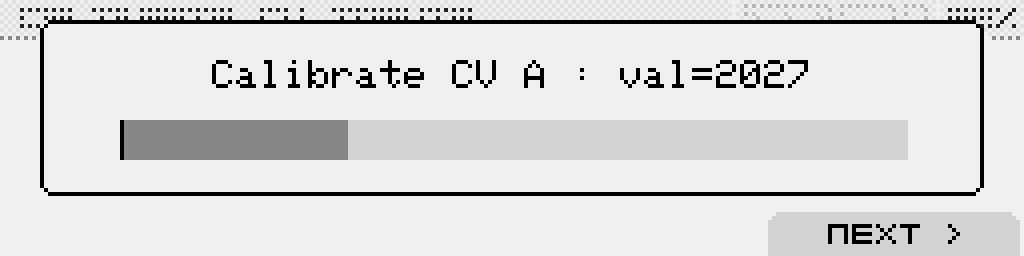
Unplug the cable from CV input A, plug it into CV input B, and repeat the process for each CV input:
- A to F for the main module
- then G to L if the expander is connected.
Once the 0 Volt calibration is done, repeat the entire process for all inputs again using a 3V signal, which corresponds to the C6 note.
After completing the full calibration process, it is recommended to restart the module.
No Comments