Quick start
Introduction
If you have reached this point, it means you have probably acquired the "Antigone" module! As you surely know, it is a multi-timbral module with 6 voices of polyphony. It can be used as a simple oscillator, or as a complete synth voice.
You can allocate these 6 voices as you see fit, for example with 3 simultaneous instruments:
- a first instrument with 3 voices of polyphony
- a second instrument in unison with 2 voices
- and a last monophonic instrument.
And this is just an example; you can also allocate all 6 voices to a single instrument or have 6 monophonic instruments at the same time.
Each of these voices can be controlled by CV and Gate inputs, or if you have the extension, via MIDI on different configurable channels.
Functionality Diagram

- Each voice can be controlled by CV/Gate or MIDI.
- An instrument can have one to six voices of polyphony within the limit of 6 voices available for all instruments. Each instrument can operate in mono, legato, unison, unison legato, or poly. You can configure the operating mode of each instrument as well as the number of allocated voices in the "Voice control" module.
- Each instrument includes a sound-generating machine (Wavetable Synthesizer, Multiple Model Synthesizer (algo), Sample player, ...)
- Audio outputs can function in pairs (stereo) or independently; routing is done in the "Mixer" module.
- Saving an instrument preset only contains the instrument parameters, i.e., the machine + its 4 modulation slots.
- Saving a project preset contains all the module parameters; if you reload this project later, you restore 100% of the parameters.
- The "Voice control" module also allows saving and loading presets; a "voice control" preset contains only the voice allocation configuration for each instrument and all associated configuration parameters (how the instrument is controlled, MIDI channel, CV/Gate inputs, mono, poly, legato mode, etc...)
Main Screen


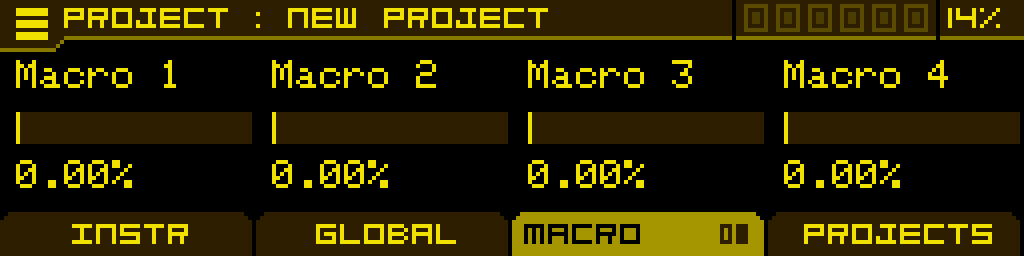
When you turn on the Antigone module, you will see the "Project" screen. This screen is divided into several areas.
Header
- At the top left of the screen, you have the "burger" menu that you can select and open using the encoder.
- The name of the current project (Init in the screenshot)
- Voice allocation configuration, the edited instrument is highlighted (Instrument 1 is currently edited in the screenshot).
- Processor consumption (21% in the screenshot), be careful when the processor reaches more than 95%, it is indicated as OVR (Over)
Body
- Voice allocation configuration, the edited instrument is highlighted (Instrument 1 is currently edited in the screenshot).
- The icon of the machine loaded on the currently edited instrument
- The general volume of the instrument
Tabs
- The 4 tabs (Instrument, Global, Macro, Projects) of the Project screen. You can switch tabs using buttons 1-4. If a tab has multiple pages, it is indicated on the tab when you are on it (see the next screenshot); you can go to the next page by pressing the tab button again.

How to Get Sound?
Load the "Init" project (it is initially loaded when the module starts), you can still reload it later by clicking on the "burger" menu, then "Load project", then "Init.nagp".
In this project, instrument 1 is loaded (monophonic), using the "Algo synth" machine, with a simple SAW passing through filter 1 and an amplifier (DCA), an envelope is connected to filter 1, and a second envelope to the amp (DCA).
All project presets are by default usable on MIDI channel 1 and use sound outputs 1-2 (stereo). If you connect a MIDI keyboard or sequencer and send notes on channel 1, you should get sound output on stereo outputs 1-2.
If you ever want to change the way to control instrument 1 to CV/Gate instead of MIDI.
- Go to the "GLOBAL" tab
- Open the "VOICE CONTROL" module using the encoder
- Select instrument 1 using the encoder, make sure you are on the "CONFIG" tab
- Click the encoder to enter the configuration of instrument 1
- Using potentiometer 1 (which is under the "Control" parameter), choose "CV/Gate".
- In the CV and Gate tabs, you can choose which CV input and which Gate input will control this instrument.
How to Modify the Sound?
- Click several times on the < | ALT button to return to the initial project page.
- Select instrument 1, and enter it by clicking on the encoder
- You should be on the following screen:
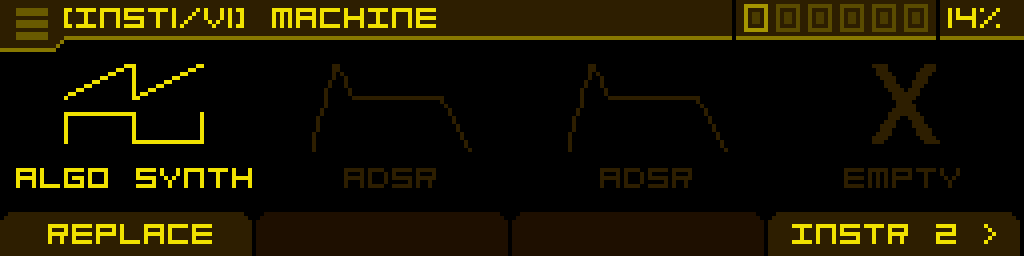 The first slot represents the sound-generating machine, here "ALGO SYNTH", there are 2 modulation slots following in which ADSRs are loaded. This screen allows you to load modulations into the slots or replace the "machine" with another.
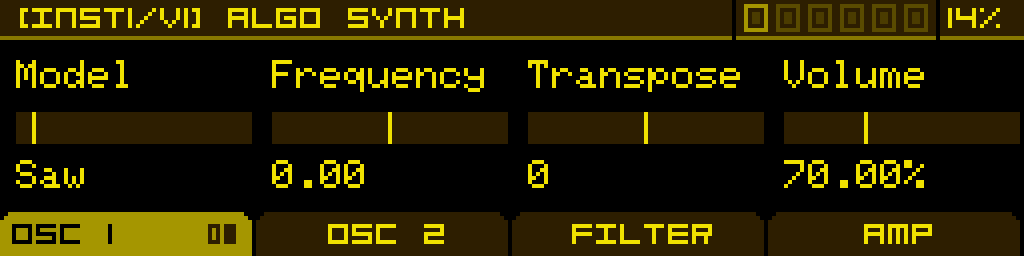
 - Enter the "Algo synth" machine; you will arrive at the main page:
 I will not go into detail about this machine at this stage; you can try playing with the parameters to see how they affect the sound.
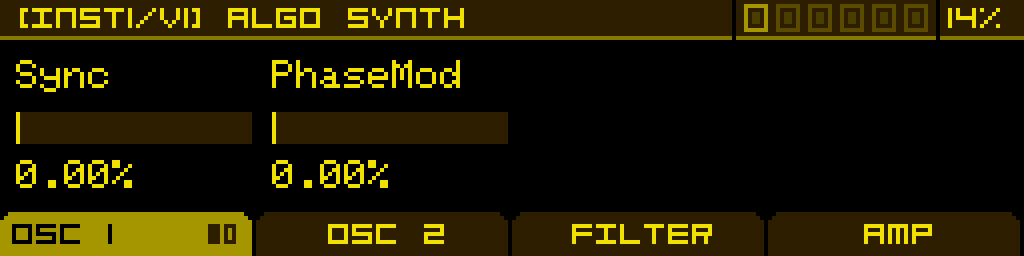
 - Now we will associate a new modulation (ADSR 1) with the "Sync" parameter; go to page 2 of OSC 1 (using button 1):

- Hold down button 1 (which is under the Sync parameter) for a long time; you will enter the modulation assignment screen:
You can assign up to 3 modulations per parameter, each modulation has its own source, as well as an attenuverter. Choose "VOICE M1 ADSR" (M1 = Modulation slot 1) as the source, set 50% on the attenuverter.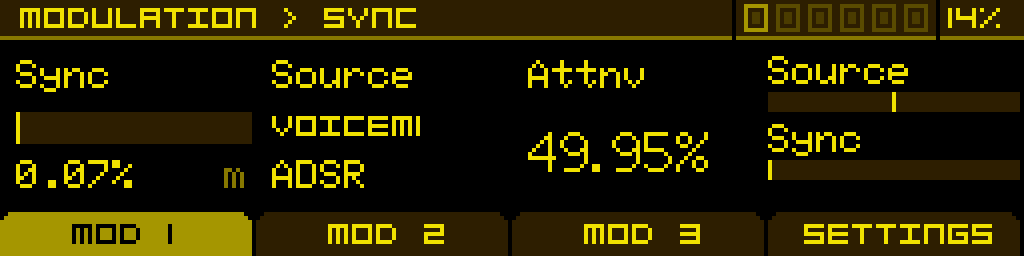
You now have a new modulation on the Sync parameter!