
How to update the firmware ?
Step 1: Checking the current firmware installed
The current firmware version installed on your module is displayed at the module startup.
You can also check the version installed by moving the encoder to the left until you reach the burger menu, click on the encoder, and move until the "SYSTEM INFO" menu.
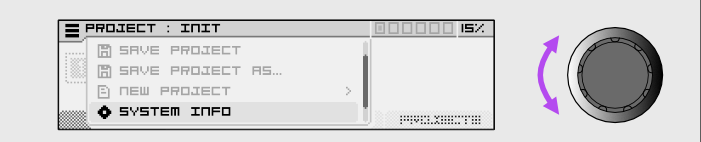
Click on the encoder again, you'll reach this screen :
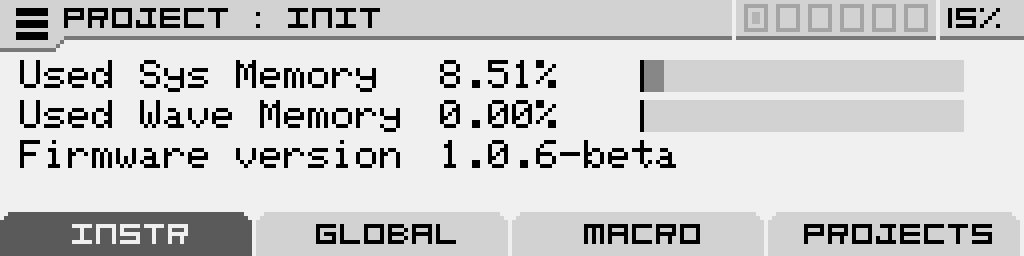
On which you can see the memory used by the system, the memory used by the wavetables and the version of the firmware installed.
Step 2 : Download the Firmware Update Tool (teensyloader)
The tool for loading new firmware is available for Windows, Macintosh, and Linux operating systems.
Download link for Windows version:
https://www.pjrc.com/teensy/teensy.exe
Download link for Macintosh (Apple) version:
https://www.pjrc.com/teensy/teensy.dmg
Explanation link for Linux (Ubuntu) installation:
https://www.pjrc.com/teensy/loader_linux.html
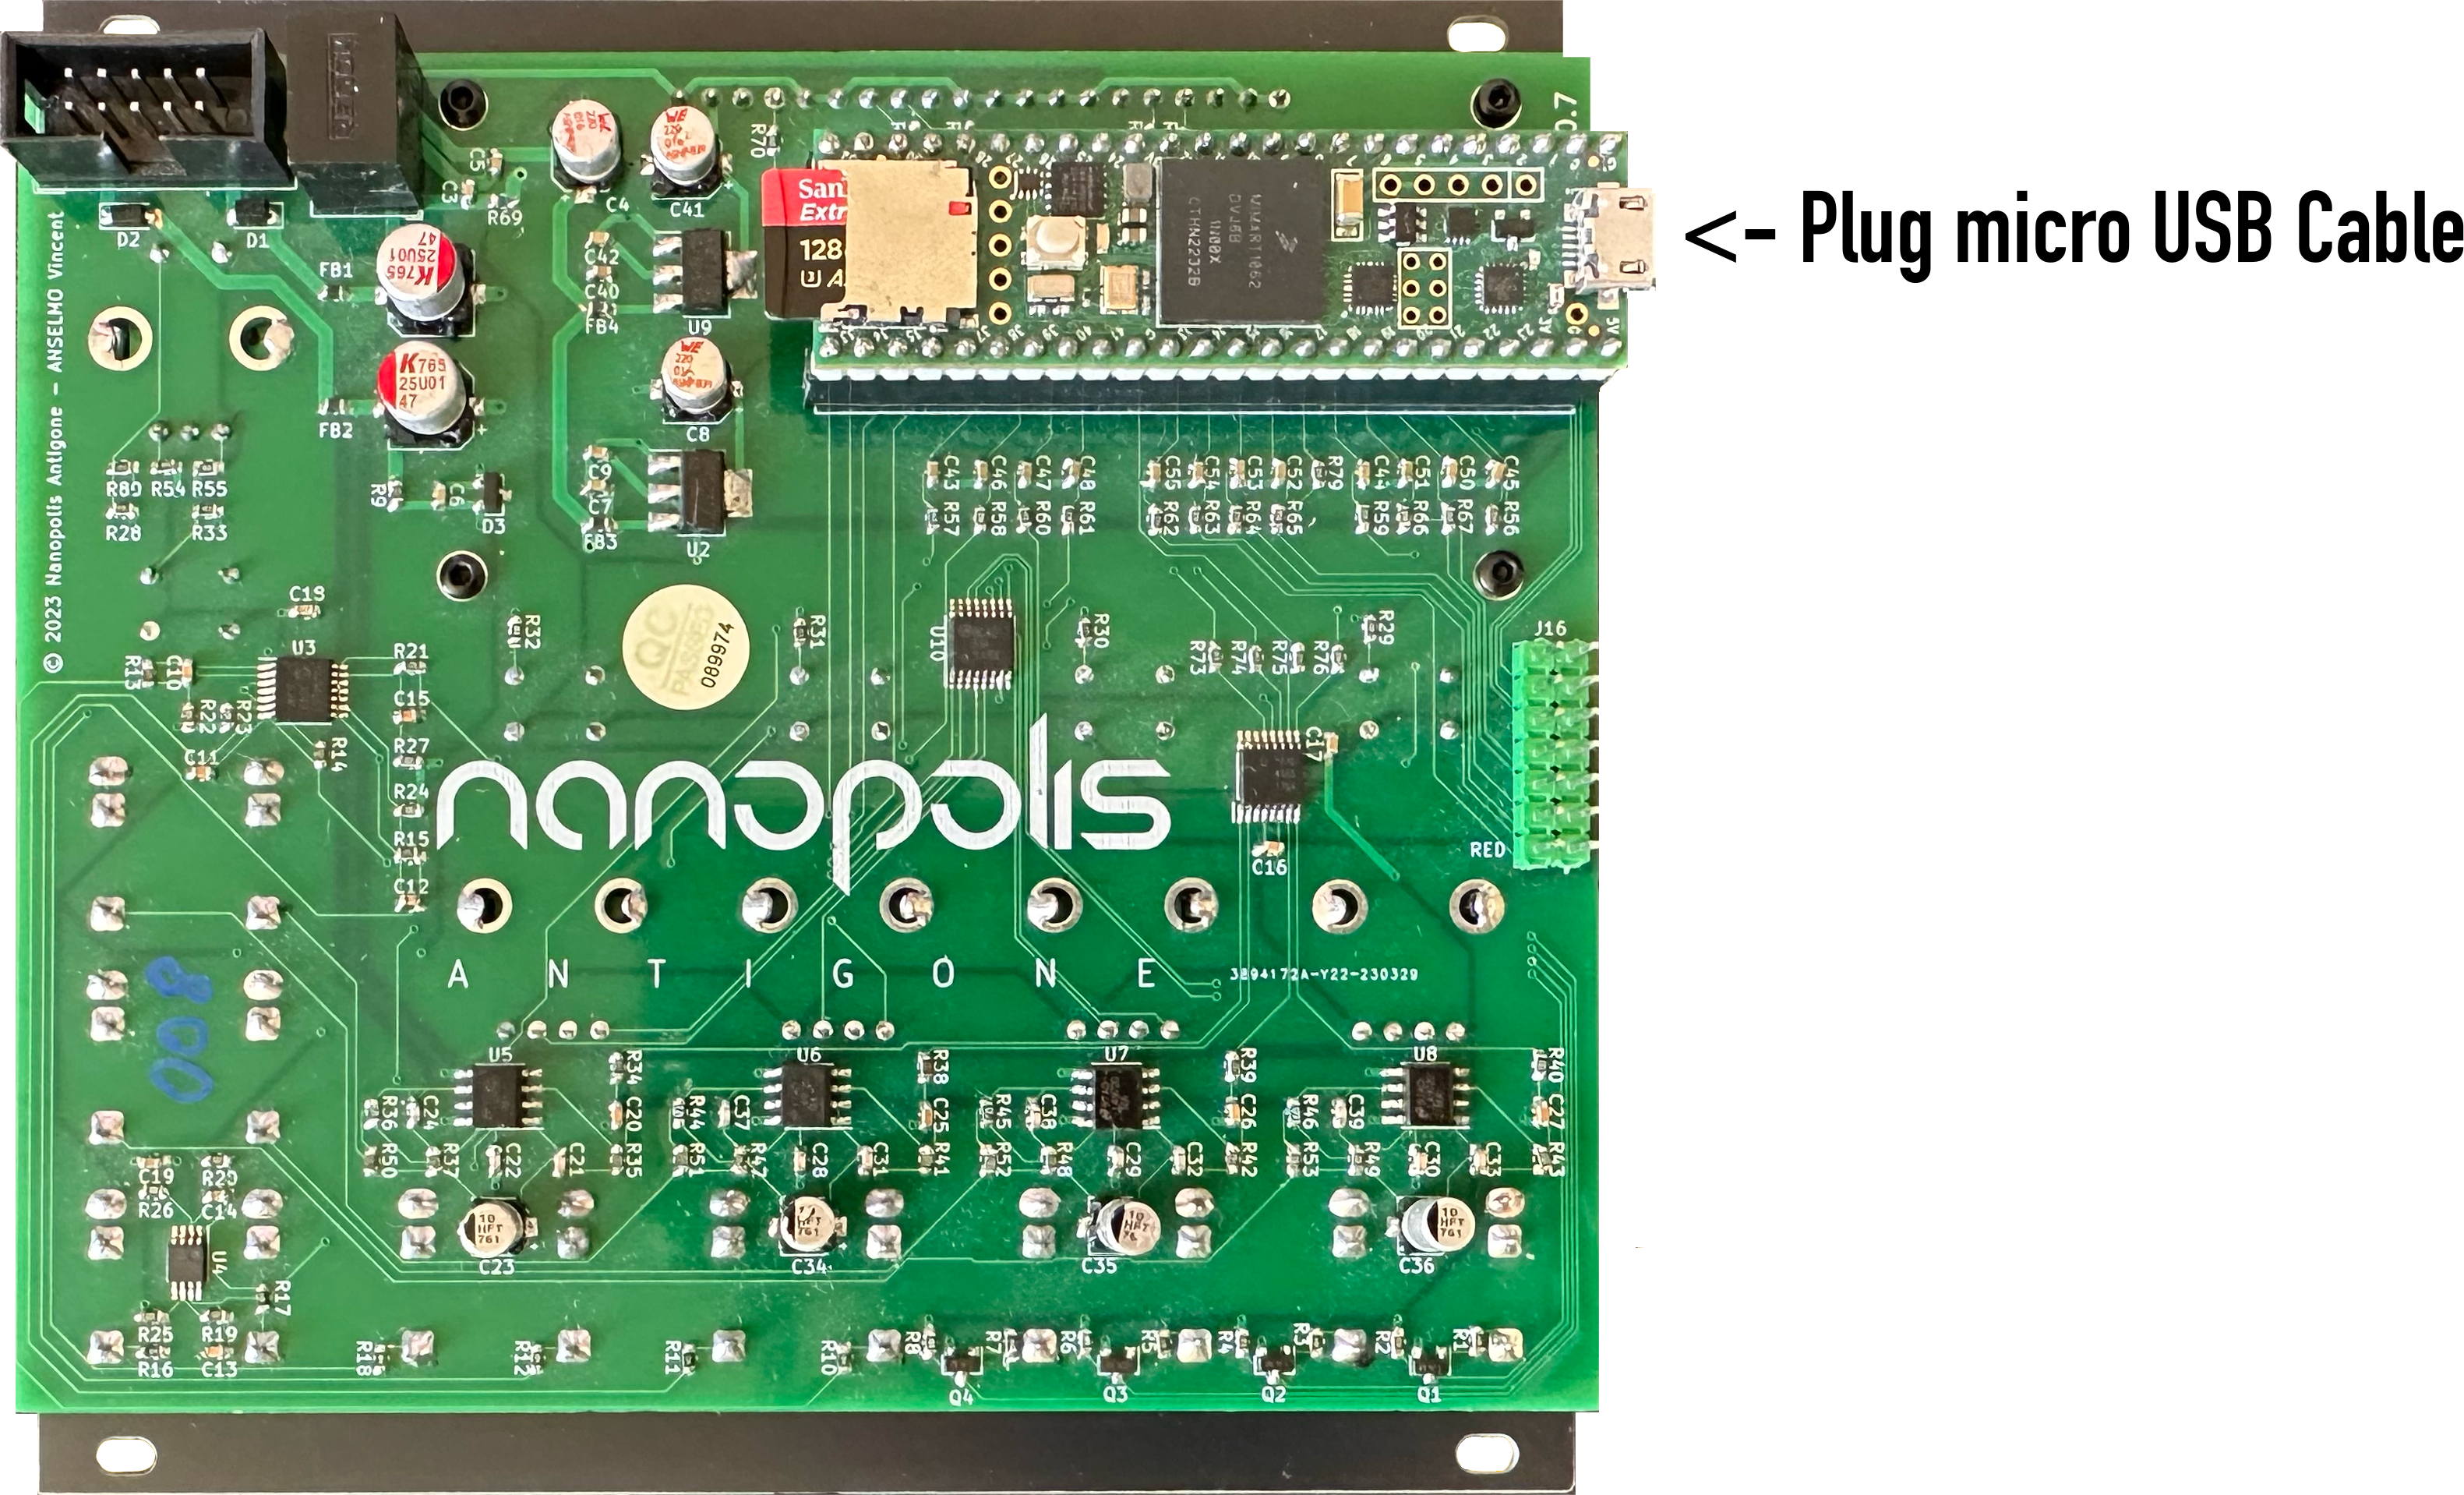
Step 3 : Connect the Antigone Module
Connect the Antigone using a standard micro USB cable to your computer.
Step 4 : Run Teensy Loader
Executez l'outil de chargement du firmware précédemment téléchargé
Step 5: Open the .hex Firmware File
Download the latest firmware version here :
https://storage.googleapis.com/nanopolis/firmwares/antigone-1.0.6-7-beta.hex
Warning: The contents of the SD card have changed since version 1.0.0, please perform step 6 of this manual if you had a version lower than 1.0.0, otherwise the module will not start.
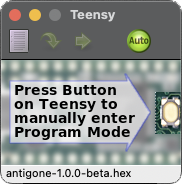
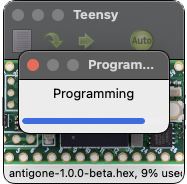
Click on the icon  and choose the firmware .hex file (example: antigone-1.0.0-beta.hex), then click on the "Auto" button so it lights up green as shown in the screenshot above.
Step 6: Press the Button
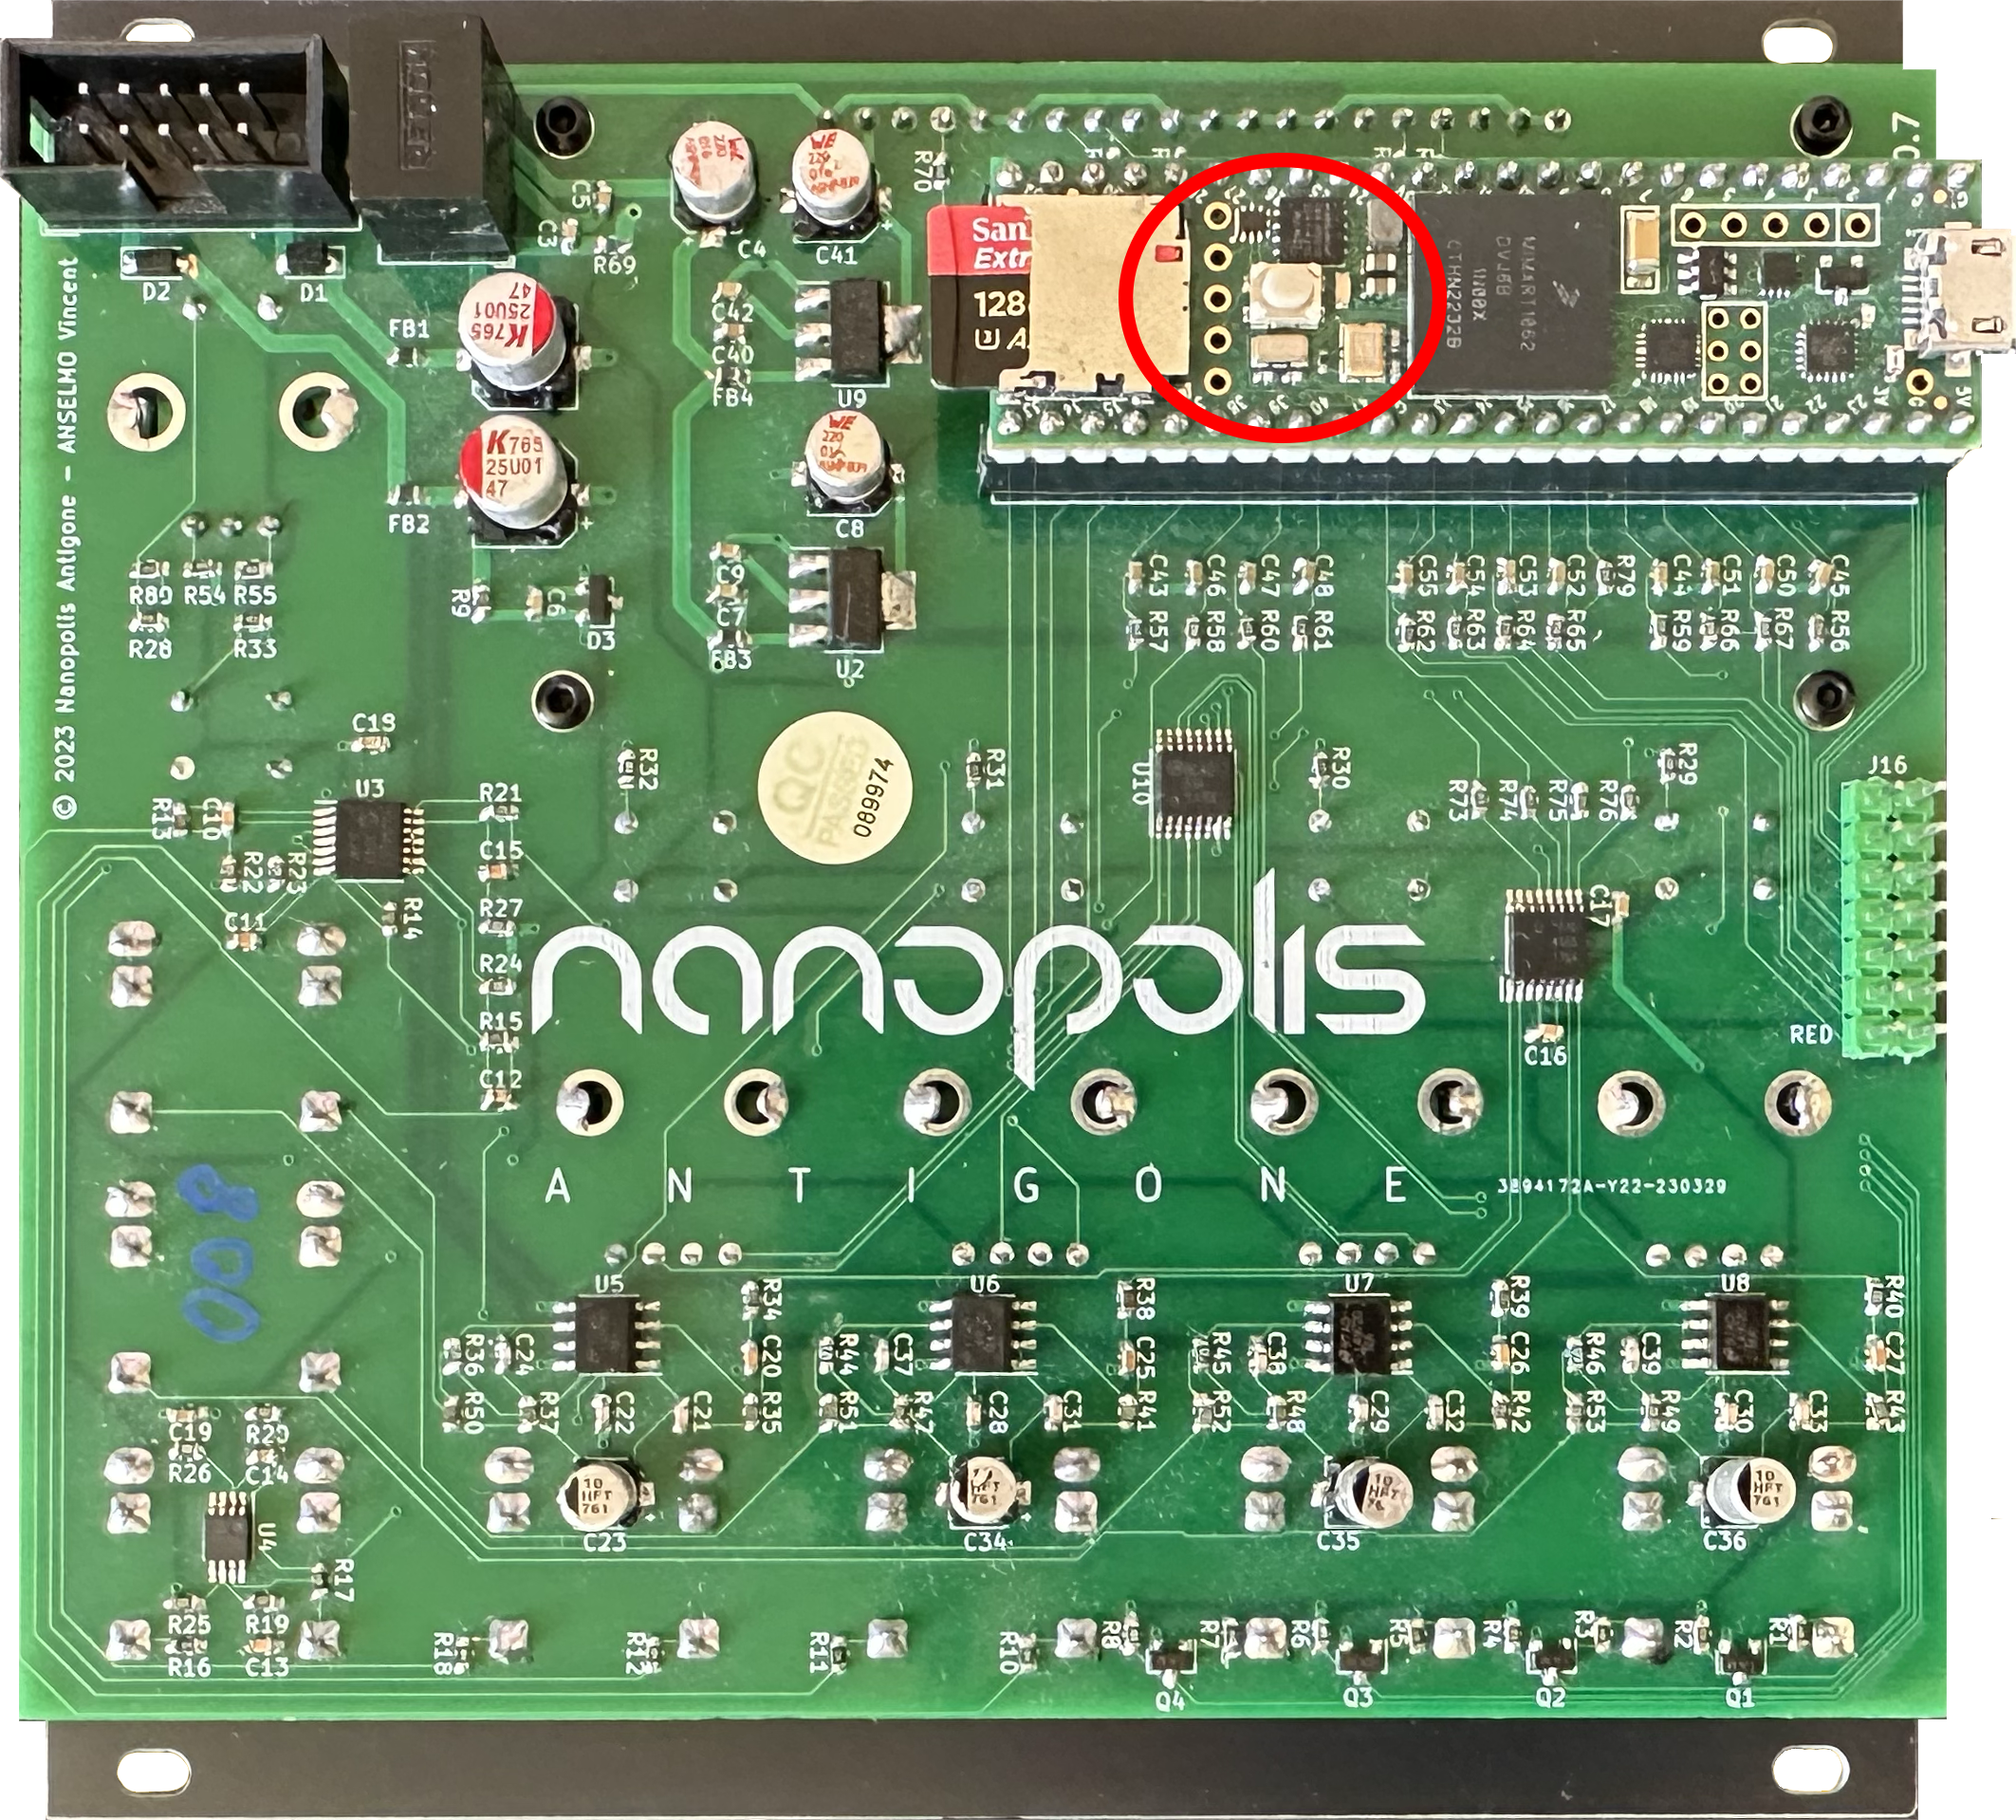
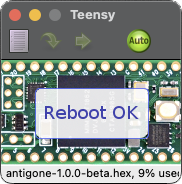
Press the button circled in red in the photo above. The firmware will update automatically. Once the message "Reboot OK" appears, you can remove the USB cable and put the Antigone module back into your Eurorack case.
You can check if the new version is properly installed by redoing step 1
Step 7: Reinitialize the Micro SD Card
The micro SD card of the module must be formatted to exFat. (Factory formatting is already in exFat format)
Download the factory microSD card content here:
https://storage.googleapis.com/nanopolis/firmwares/SDCard-v1.0.6-beta.zip
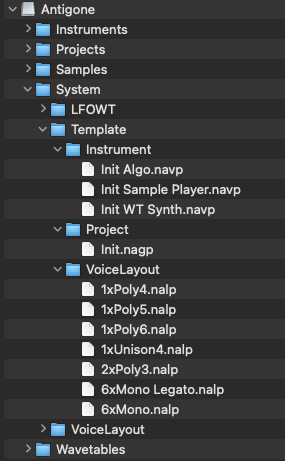
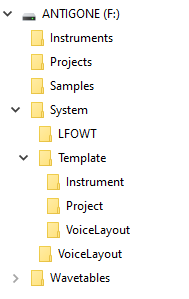
Unzip the downloaded zip file, and copy all directories to your microSD card (Instruments, Projects, Samples, System and Wavetables)
The contents of the card should look like this, the Instruments, Projects, Samples, System and Wavetables directories should be at the root of the SD card.
| On Mac it must look like | On WIndows it must look like |
 |
 |