General features
Macros
Operation
In Antigone, you can define up to 16 macros per project. These macros allow you to simultaneously control one or more parameters, with varying degrees of influence depending on the parameter.
Macros are part of the modulation system: they are considered modulators within Antigone. You can assign a macro to a parameter in the same way as any other internal or external modulator.

Since macro parameters themselves act as modulators, they cannot be directly modulated by another internal modulator within Antigone. However, they can be controlled absolutely via MIDI CC (if you have the MIDI expander).
For convenience, each macro can be renamed.
Main macro screen:
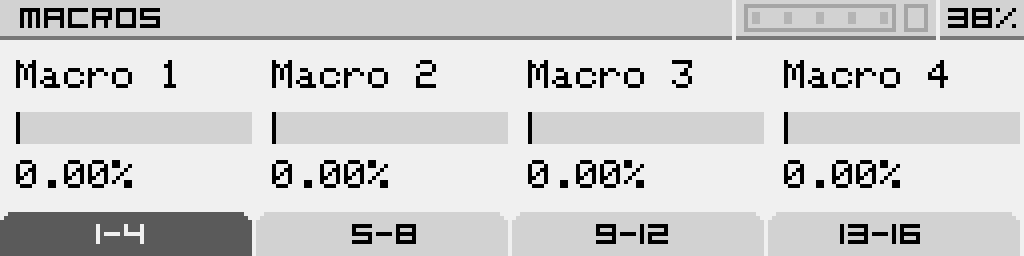
Each tab switches between different banks of 4 macros (1 to 4, 5 to 8, 9 to 12, and 13 to 16).
How to access macros?
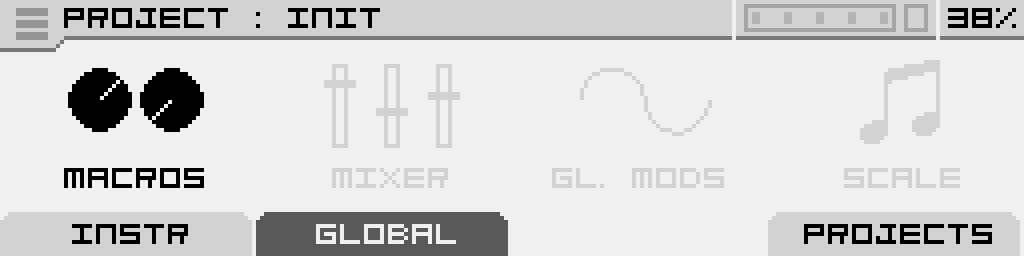
You can access macros from the main "PROJECT" screen, in the "GLOBAL" tab. Select "MACROS," then click the encoder to enter the "MACROS" screen.
How to modulate a parameter with a macro?
For more details, see the "Modulation Assignment" page in the documentation. When assigning a modulation, select the source "INTERNAL MACRO 1..16".
Editing a macro
To access a macro’s configuration screen, press and hold the button below the macro you want to edit in the "MACROS" screen. This will bring up the following screen:
On this screen, you can adjust the macro’s current value and view its modulation matrix. In this example, the macro controls two parameters: "Freq F1" and "LP>N>HP F1," with attenuverters set differently for each parameter.
You can directly adjust the attenuverter (which controls the macro’s depth of influence on a parameter) using rotary potentiometer 4.
To change the assigned modulation destination, use the encoder. Clicking it will provide a shortcut to the parameter's modulation assignment screen. You can return to the previous screen by clicking the "< | ALT" button.
Assign a MIDI Control Change (expander required)
Switch to the "ASSIGN CC" tab: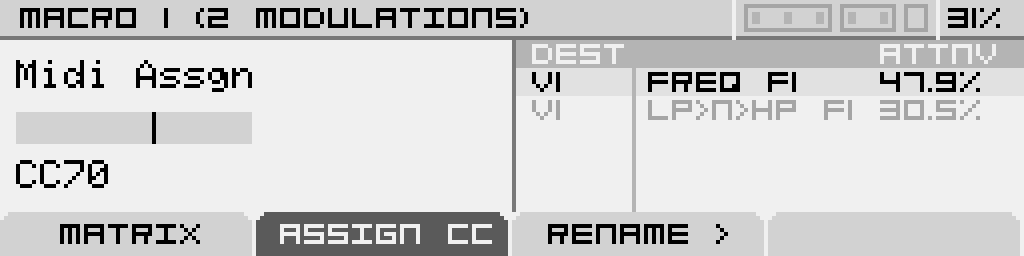
In the "ASSIGN CC" tab, the "Midi Assgn" parameter allows you to assign a MIDI Control Change from 1 to 119.
Renaming a macro
Click on the "RENAME >" tab to open the macro name editing window:
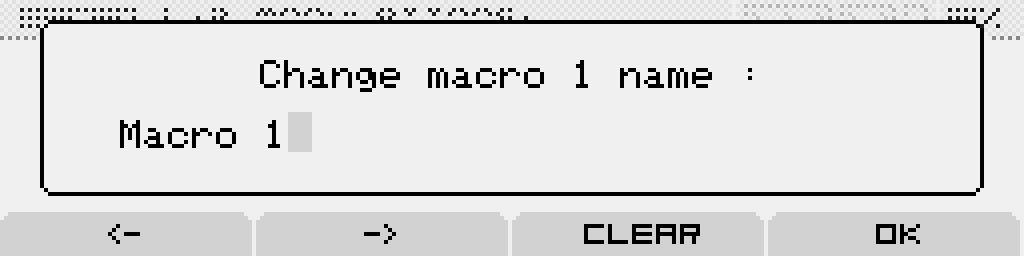
Here, you can enter a new name for the macro. Use the left and right arrows to move the cursor. The encoder allows you to change the letter or number at the cursor’s position.
If you wish to cancel the name change, click the "< | ALT" button.
Mixer
Functionality
The Antigone mixer allows you to mix the audio signals of different instruments together.
Since Antigone can handle up to 6 instruments, there will be a maximum of 6 corresponding audio tracks.
Each instrument's audio output is mono and can be routed to either a mono or stereo output of the Antigone. If an instrument is routed to a stereo output, you can adjust its panning (Pan) and the distribution of its voices across the stereo spectrum (Spread).
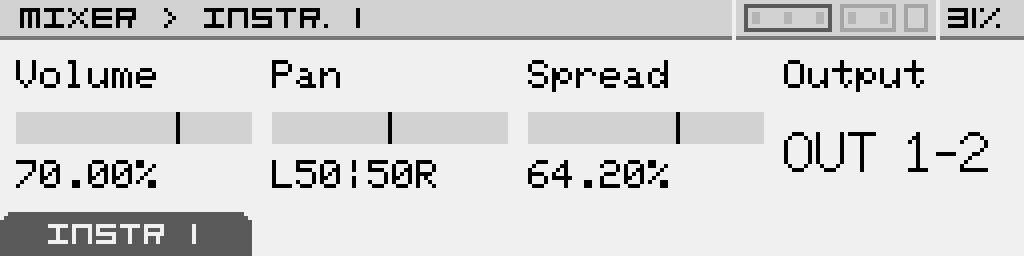
Main mixer screen:
How to access mixer ?
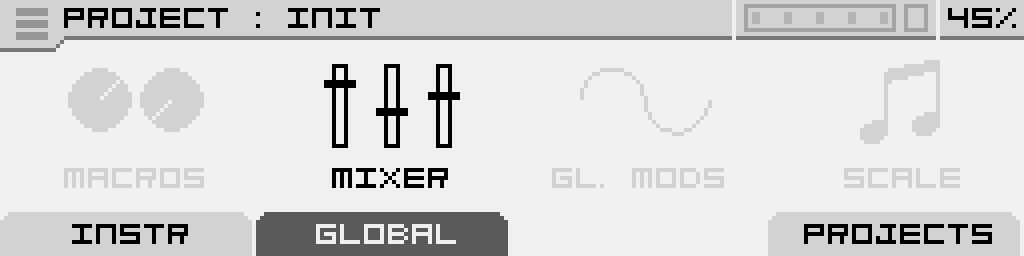
You can access macros from the main "PROJECT" screen, in the "GLOBAL" tab. Select "MIXER," then click the encoder to enter the "MIXER" screen.
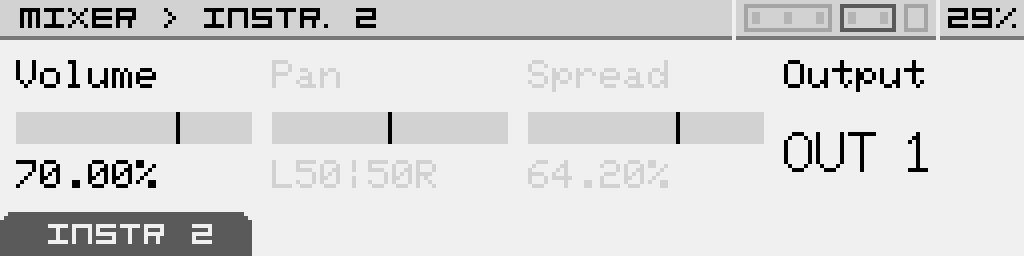
How to switch instruments in the mixer?
To change the instrument being edited, simply turn the encoder in either direction to move to the previous or next instrument.
The currently selected instrument is displayed in the screen header under "INSTR. X," where X represents the instrument number. It is also highlighted in the upper-right corner of the screen.
Example of instrument 2 configuration with a mono output:
Parameters
| Volume | The instrument's volume, adjustable from 0 to 100%. |
| Pan | The instrument's position in the stereo field (left-right). This parameter is only active when a stereo output is selected. |
| Spread | The distribution of the instrument’s voices across the stereo spectrum. This parameter is only active when a stereo output is selected and allows you to adjust the stereo image of the instrument. |
| Output | Off: The instrument's audio output is disabled. OUT 1 to 4: The instrument outputs in mono on one of Antigone’s audio outputs 1 to 4. OUT 1-2 or 3-4: The instrument outputs in stereo on Antigone’s audio outputs 1-2 or 3-4. |
Scale quantizer
Operation
The "Scale Quantizer" allows real-time adjustment of notes to a specific musical scale. It operates at the project level (global), meaning it affects all instruments simultaneously. It is possible to transpose all voices globally or to transpose each of Antigone’s 6 voices individually. This makes it easy to create chords within a given scale.
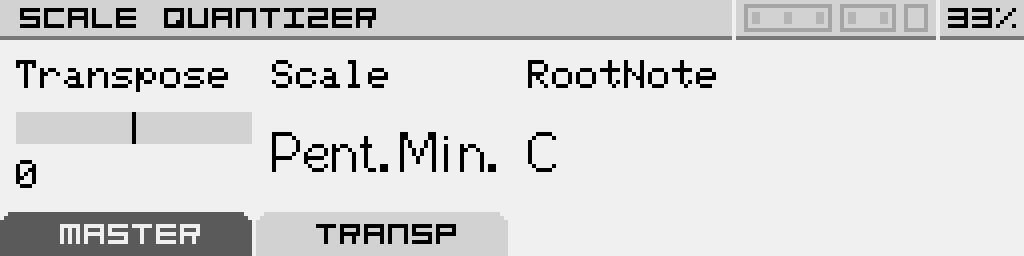
Main screen of the Scale Quantizer
How to access the Scale Quantizer?
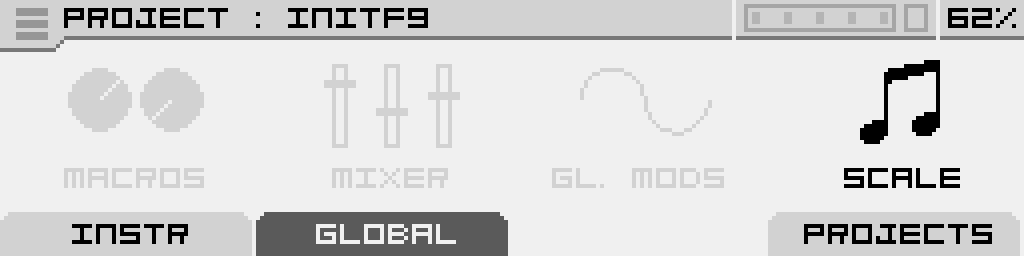
You can access the Scale Quantizer from the main "PROJECT" screen, in the "GLOBAL" tab. Select "SCALE," then click the encoder to enter the "SCALE" screen.
Parameters
| Transpose | Allows transposition (in semitones) of all Antigone voices. This transposition occurs before the Scale Quantizer. |
| Scale | Allows selection of a musical scale. When "Off" is selected, no quantization is applied. (See the next chapter) |
| RootNote | Defines the fundamental note. |
Available scales
| Scale parameter value | Scale name | Intervals |
| Chrom. | Chromatic | 0, 1, 2, 3, 4, 5, 6, 7, 8, 9, 10, 11 |
| Pent.Min. | Minor Pentatonic | 0, 3, 5, 7, 10 |
| Pent. Maj. | Major Pentatonic | 0, 2, 4, 7, 9 |
| Harm.Min. | Harmonic Minor | 0, 2, 3, 5, 7, 8, 11 |
| Melo.Min. | Melodic Minor | 0, 2, 3, 5, 7, 9, 11 |
| Blues | Blues | 0, 3, 5, 6, 7, 10 |
| Lydian | Lydian | 0, 2, 4, 6, 7, 9, 10 |
| Aeolian | Aeolian | 0, 2, 3, 5, 7, 8, 10 |
| Sup.Loc. | Super Locrian | 0, 1, 3, 4, 6, 8, 10 |
| Locrian | Locrian | 0, 1, 3, 5, 6, 8, 10 |
| Dorian | Dorian | 0, 2, 3, 5, 7, 9, 10 |
| Augmen. | Augmented | 0, 3, 4, 7, 8, 11 |
| Mixoly. | Mixolydian | 0, 2, 4, 5, 7, 9, 10 |
| Phrygian | Phrygian | 0, 1, 3, 5, 7, 8, 10 |
| Gypsy | Gypsy | 0, 2, 3, 6, 7, 8, 10 |
| Persian | Persian | 0, 1, 4, 5, 6, 8, 11 |
Individual voice transposition
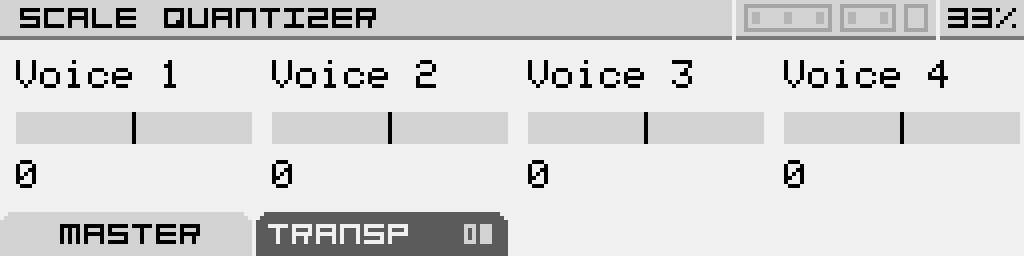
| Voice 1-6 | Allows individual transposition (in semitones) of Antigone's voices. This transposition occurs before the Scale Quantizer. |
Clock (internal & external)
Operation
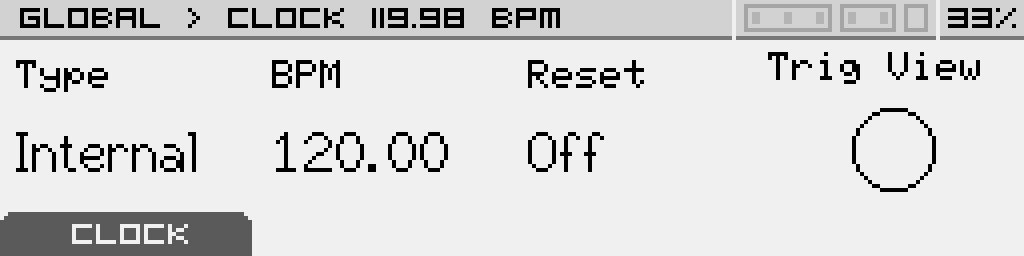
The Antigone clock offers two operating modes: Internal and External. The internal clock has an accuracy of ±0.03 BPM. The "Trig View" indicator lights up with each generated (internal) or received (external) trig.
In the header of this screen "GLOBAL > CLOCK 119.98 BPM", you can see the actual BPM value with a precision of 0.01 BPM.
How to access the Clock ?
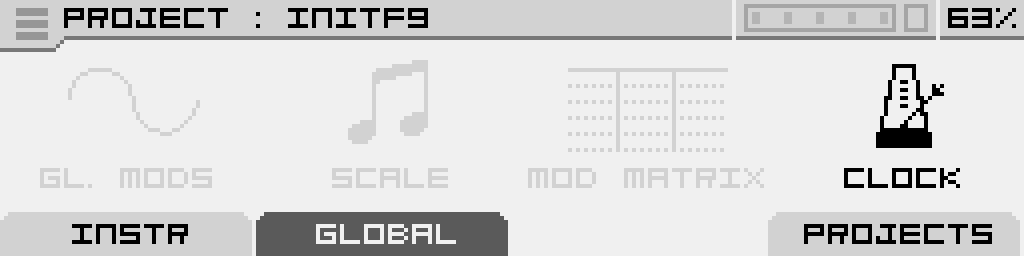 You can access the Clock from the main "PROJECT" screen, in the "GLOBAL" tab. Select "CLOCK," then click the encoder to enter the "CLOCK" screen.
Internal Clock
To use the internal clock, select the "Internal" mode and choose the desired BPM. Even though the clock is internal, you can still reset it using an external trig (Gate or MIDI).
External Clock
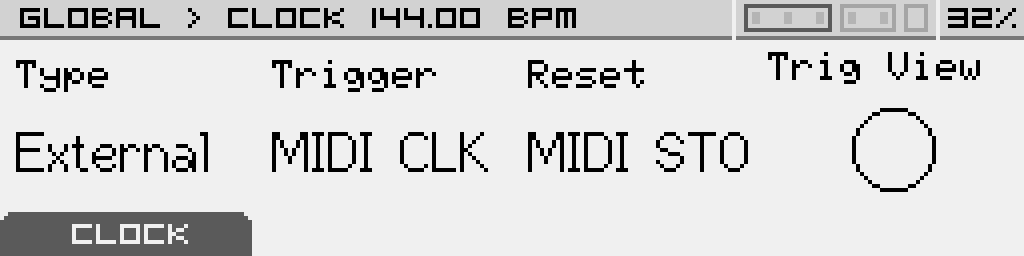
External Clock
If you want to use an external clock as a synchronization source, you must configure at least the "Trigger" parameter to select the input for synchronization. The "Reset" parameter allows you to restart at the beginning of the measure, which is essential for using the shape sequencer or synchronizing the Wavetable LFO.
Trigger Parameter:
| Gate 1..4 | Uses Gate 1 to 4 inputs as the clock synchronization source (1/16 division) |
| Gate 5..6 | Uses Gate 5 or 6 input from the expander as the clock synchronization source (1/16 division) |
| MIDI CLK | Uses the MIDI input from the expander as the clock synchronization source (96 ppqn) |
Reset Parameter:
| Gate 1..4 | Uses Gate 1 to 4 inputs as the reset source |
| Gate 5..6 | Uses Gate 5 or 6 input from the expander as the reset source |
| MIDI STA | Uses the MIDI Start command received on the expander's MIDI input |
| MIDI STO | Uses the MIDI Stop command received on the expander's MIDI input |